With multiple projects being managed in PWA,[1] it is not easy to organize the project information and provide an easy-to-understand view across different projects and programs. The Departments feature may help make your Project Online environment much easier to navigate, and make the project information simpler to consume.
Some PWA users confuse Departments with Security Groups, but in fact, it’s all about structuring the information. Departments (or Departmental Custom Field) constitutes a custom field with the respective lookup table, which allows users to associate certain kinds of data (mostly within Project Online) with a specific group of users and make this data accessible to them. In other words, it represents what each group of people will see and use in Project Web App and Desktop Client.
Here is an example. Rob and Jane work for Company X in Marketing and Finance, respectively. Both manage several projects in PWA and want to track different KPIs for their departments. The administrator adds the necessary custom fields and associates them with either Marketing or Finance. If Rob then creates a new project, he will be prompted to fill out only the custom fields that belong to the Marketing Department. That’s a simplified example of the most common usage of this feature.
However, Departmental Custom Field cannot grant permissions to users or restrict access to certain projects. For this purpose, you should use Security Groups and Categories.
There are several areas that might be affected by Departments:
-
Custom Fields
-
Enterprise Project Types
-
Projects
-
Resources
-
Business Drivers
-
Driver Prioritization
-
Portfolio Analysis
Let’s walk through the process of setting up and utilizing Departments.
Update Lookup Table
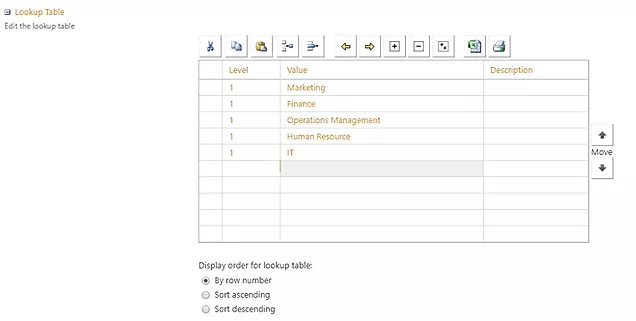
By default, there are two Departmental fields in Project Online: Project Departments and Resource Departments, and both use the empty-at-first Department lookup table. As an admin, go to PWA Settings -> Enterprise Data -> Enterprise Custom Fields and Lookup Tables (pic. 1). Find and open the Department lookup table, enter the information needed, and Save (pic. 2). Now, Departments is ready to use.
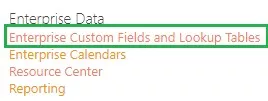
Pic.1
Pic.2
Segregate resources
Each resource can belong to zero or more Departments. If a resource isn’t associated with a Department, it needs to fill out only globally required Custom Fields.
To segregate resources into Departments, access Resource Center (pic. 3) and open a resource for editing. Scroll down and find the Departments section. Choose the appropriate division name from the drop-down menu, and save the changes (pic. 4).
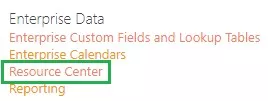
Pic.3
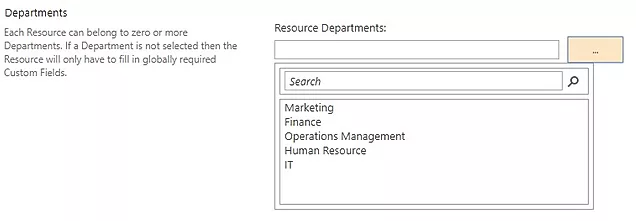
Pic.4
Associated with Departments Custom Fields, Enterprise Project Types (EPTs), and Projects
Let’s say you create some new EPTs (pic. 5) and add Serial Number Custom Field at the project level (pic. 6); all are tied to the Marketing Department. Also, you have another EPT and Custom Field that belongs to other Departments or are available across the entire production environment.
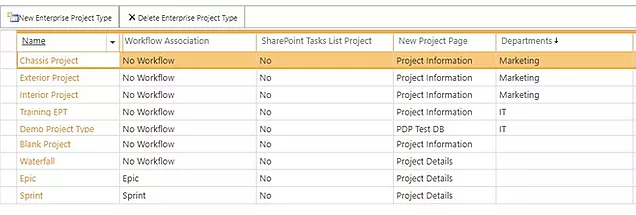
Pic.5
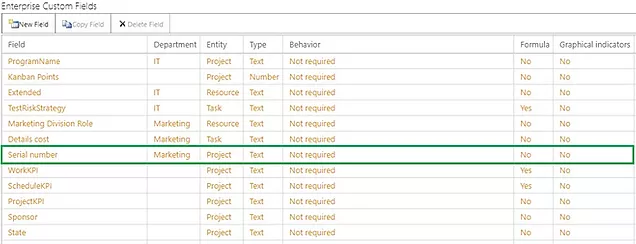
Pic. 6
If a user belongs to the same Department, he or she will be able to use only globally available fields associated with the Marketing Department EPTs (pic. 7).
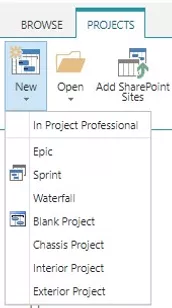
Pic. 7
The same situation exists with Custom Fields—only fields that are globally available and associated with the Marketing Department will be prompted to fill in if the user creates a new project and selects Marketing in the Project Departments section (pic. 8).
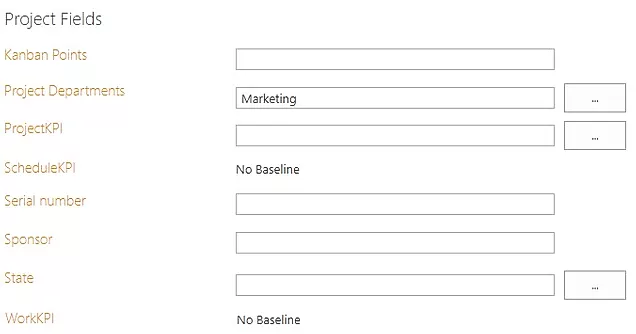
Pic. 8
Note: While editing a resource, you’ll see all Custom Fields at the resource level linked to these fields, regardless of Department.
To easily orient between projects from different Departments, you can add the Project Departments Custom Field to the Project Center view and then group or filter projects by that field.
Strategy
Working on Portfolio analysis, you can associate the Departmental Custom field with:
-
Business Drivers (pic. 9). Up to 9 business drivers is recommended to associate with a single Department.

Pic. 9
-
Driver Prioritization (pic. 10). Business Drivers available for prioritization depend on the Department selected.

Pic. 10
-
Portfolio Analysis (pic. 11). Depending on the Department selected, only associated resources and fields will show up.

Pic. 11
Happy Learning.
Best Regards,
Team of Managed Services Department
Trusted IT Group